Tuesday, October 22, 2013

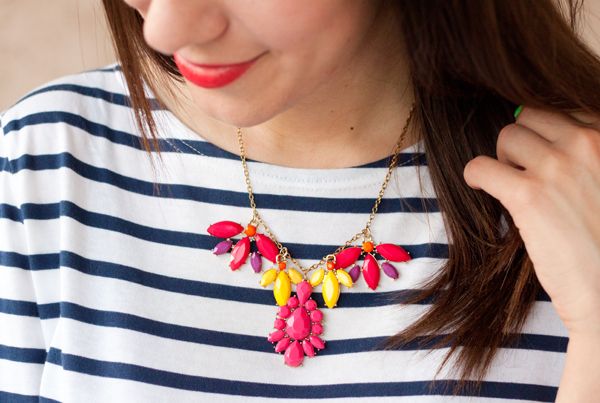
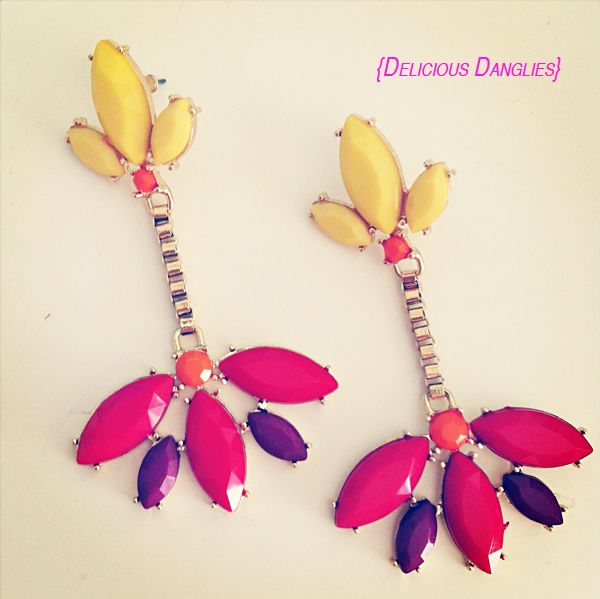
{DIY} Easy Statement Earrings

 photo statementearringdiy_zps377f25a9.jpg
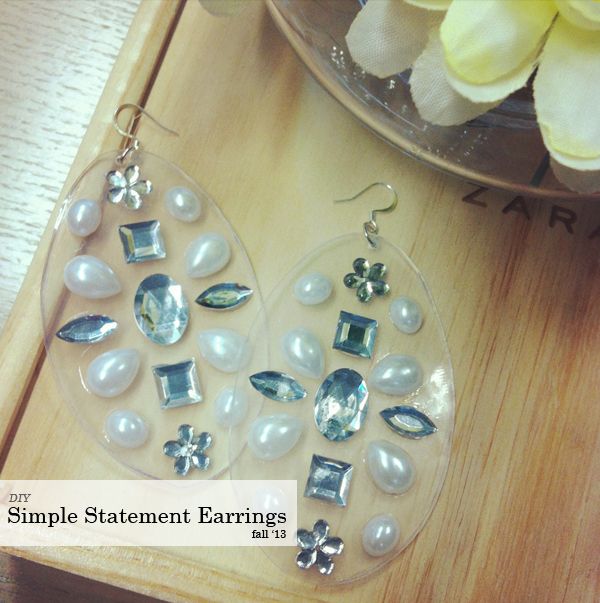
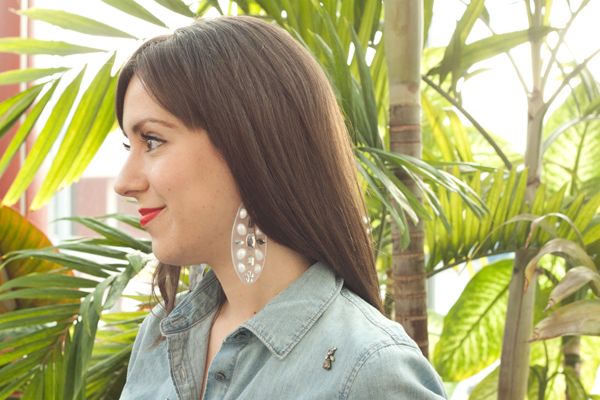
I was craving an easy DIY this weekend, so I decided to whip out my trusty Shrinky Dinks and try my hand at a simple, lucite-inspired statement earring. I have a hard time wearing larger earrings because I find them too heavy and taxing on my lobes, so this fun, lightweight solution really appealed to me. Read on for instructions!

 photo StatementEarringsDIY_zps47707792.jpg  

 Supplies: 
  • Shrinky Dinks (available at any craft store)
  • Scissors
  • Holepunch
  • Paper + pen
  • Jewelry glue
  • Decorative gems
  • Jump rings + earring hooks 
 Instructions:

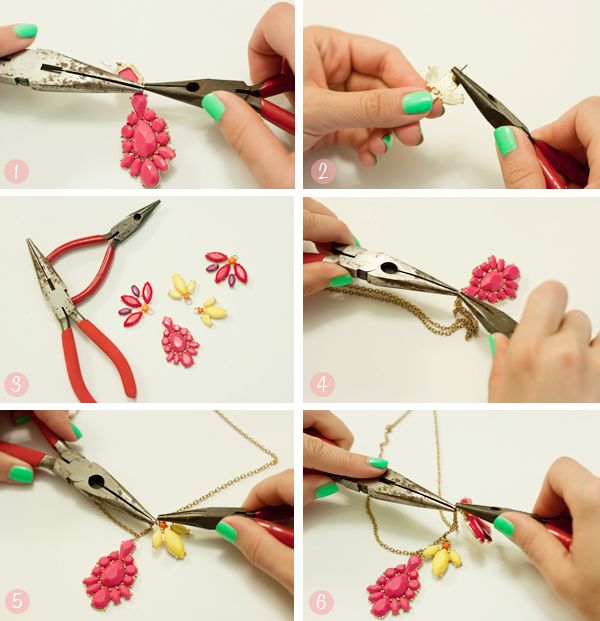
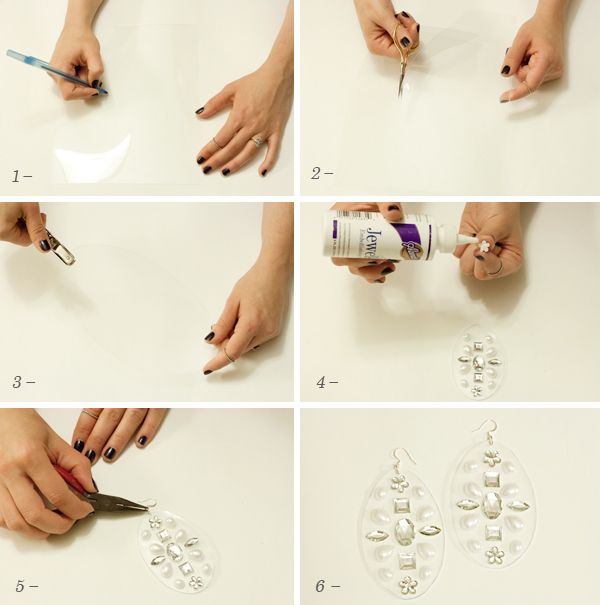
1. Trace your shape onto a Shrinky Dinks sheet, making it three times larger than your desired end result.
2. Cut out the shape, taking care to even out the edges.
3. Punch a small hole into the top of your shape, then bake the shapes according to the instructions on the Shrinky Dinks package.
4. Once cooled, start gluing decorative gems and pearls onto the surface of the earrings.
5. Secure the earring hooks to the base with a jump ring.
6. Give yourself a pat on the back � you're done!

 photo IMG_9176_zps11abcfdc.jpg

Labels: , , , , , , , , , , ,

Wednesday, July 24, 2013

{DIY} The Repurposed Necklace...

 photo IMG_9078_zps3ade417e.jpg

Last night I realized that it had been waaaay too long since I DIY'd (stupid work and life getting and, well, Netflix getting in the way), so I put my thinking cap on and ransacked the apartment for project ideas. After looking through a cramped jewelry drawer, I quickly realized that I have far too many earrings that go unworn, and � light bulb moment � why not turn some of those old baubles into a necklace?!

Like what you see? It's the easiest! Here's the drill:

 photo IMG_9028copy_zps3fa430b1.jpg

The Supplies: 
 
- Old earrings
- Chain
- Jump rings
- Tools

  photo repurposeddinner_zps710909f7.jpg

The Steps:

1. Detach all the components you plan to use from your earrings.
2. Take special care to remove all traces of the earring posts � Trust me on this one.
3. Collect all the pieces you plan to use and mock up where they're going to sit on the chain.
4. Attach your first piece at the centre of the chain using a small jump ring.
5/6. Continue attaching your components until the necklace is complete.

** Marvel at how easy this was and what a crafty-crafterson you are... You've earned it. 

 photo IMG_9064copy_zpseb0a2ec0.jpg

Ta-daaaa! A repurposed necklace to call your very own... Tres chic! Thanks for reading, friends! xx


 photo IMG_9072_zps8bc87971.jpg
 Photos by Andrew Tarver

Labels: , , , , , , , , , , ,

Wednesday, July 18, 2012

Wardrobe Wednesday...

Photobucket

Happy Wardrobe Wednesday, lovelies! xx

Image details: Forever 21 drop earrings

Labels: , , , ,