Saturday, September 29, 2012

Building a Living Wall

One of my other passions besides fashion is gardening, and since I don't also have a gardening blog, I'm posting the project that I'm most proud of here. It's a living wall that I built in a bland, dead space underneath the staircase behind our house. Invented by Patrick Blanc in Paris, living walls now abound in San Francisco and I was inspired to build mine on a visit to the Academy of Sciences, which has a stunning installation in the central piazza area.


I built the entire wall myself, with the exception of the wooden frame that holds it up, which was Mark's contribution. Many of the plants in the wall were ones I started from cuttings.

Since the area is heavily shaded, the wall is comprised of lots of fuchsias, ferns, and tender vines or creeping ground covers. The black things sticking out at the top are misters that are part of the plumbed drip watering system, which waters the wall for 4 minutes every 6 hours. With living walls it's important not to let them dry out, since the felt medium acts as a soil substitute but doesn't hold water in the same way that a deep planter full of soil does. If you'd like to learn how the wall was constructed, read on.


Below is what the area looked like before; a plain, painted sheet of plywood attached to the back of our neighbor's fence. To this we attached the wooden support frame that Mark built.


Meanwhile, I assembled the materials:


Left to right: industrial grade 1/4" thick recycled felt, rust-proof staples, landscaping fabric. Click each photo for source.

The next step was to attach sheets of corrugated plastic to the frame so as to create a waterproof barrier. Once the frame was completely covered, I caulked the seams to prevent water from seeping through.


While I was researching, ordering, and assembling all my materials, I had about 40 or 50 cuttings going. This prevented me from having to buy all ~100 of the plants I needed to fill out the wall. I created mini-greenhouses for them out of milk crates wrapped with plastic wrap, which prevents the cuttings from drying out while the new roots are forming. Each cutting was grown in a coconut husk pot, which is biodegradable and which I could put directly into the wall. Of the cuttings I started, maybe a third of them survived; cuttings are tricky. I ended up starting a couple more rounds and had success with several plants with each round. I probably saved $200 - 300 by not buying all the plants from the nursery.
Next I stapled a layer of the landscaping fabric to the wall to help with moisture retention. The next step was to measure and cut the first layer of felt, and staple it to the wall. I quickly learned that a rotary cutter is pretty much the only way to cut that stuff. I also learned to wear long sleeves and gloves while working with it, because it's outrageously itchy.
Once the landscape fabric and first layer of felt were in place, I started building the drip watering system, which is nestled between the two layers of felt that ultimately make up the wall. Across the top is a length of 1/4" soaker hose (I spliced in the misters later, because I felt that many of the shade plants would benefit from having water on their leaves), connected to 1/4" tubing, which ultimately I ended up tucking behind the whole assembly. The watering system is controlled by a timer and uses a fertilizer injector (below right; click for source) to keep the plants fed. Under the bottom edge of the living wall is a narrow metal channel that directs the excess water over into another planter so that the water doesn't just run down the wall. Since the concrete wall that it rests on slopes anyway, the channel just sort of sits there and gravity does the rest. I know for indoor walls, capturing and recycling the water is a much bigger deal.

The final layer of the wall is a second piece of felt with slits cut in it of various sizes. These create the pockets for the plants to be slipped into. I just sort of eyeballed it and put in larger and smaller slits for the plants that I had. Ultimately it doesn't really matter how large the pocket is for each plant, because the roots spread laterally through the wall as the plant grows, so it isn't as if the plants are constrained to the size of the pockets they're planted in.

 I also added a second layer of landscaping fabric in between the layers of felt, which, if I had it to do over again, I would not repeat. The plants go behind the top layer of felt and the landscape fabric, and in front of the bottom layer of felt. However, the fabric has no stretch to it and had to be cut much larger than the slits in the felt in order to accommodate the plants. It was a huge pain in the ass, and I definitely would not recommend using it for anything but behind both layers of felt as a moisture barrier, if at all.

Finally, the plants started going in. I quickly realized that the staples do not work at all once you've got a couple of 1/4" layers of felt up. I ended up using coated concrete screws, which worked a lot better. Each plant is removed from the pot (if it isn't biodegradable), and the excess dirt is shaken loose. It helps to carefully break the roots in half and flatten them out so that they slip into the slits more easily. As each plant was put in place, I put a couple of screws around the bottom and sides to create a little pocket.
Ta-da! Here's what it looks like today, about 3 months after the plants went in. As you can see, they're filling in nicely and I'm betting by this time next year, the felt will be completely invisible as the plants grow together. The wall adds so much warmth and visual interest, and what used to be sort of a dumpy area is now the highlight of the property. We call this little seating area, "The Grotto."
For more information on building and maintaining living walls, or to just look at some really kick-ass installations, please see these sites:

DIY Greenwalls (the source of most of my information)
Sunset magazine article
Tumbleweed Traveler -- Uprooted Garden
Living Walls and Vertical Gardens
Environmental Graffiti 

Friday, September 28, 2012

{Style} The Basics...

Photobucket Photobucket Photobucket Photobucket Photobucket

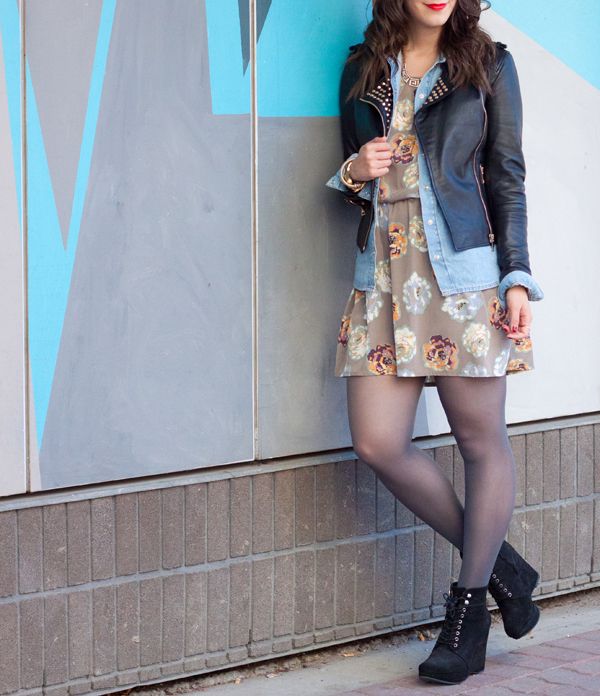
In a season filled with falling leaves, cheerful holidays and pumpkin-flavoured everything, you know what makes me happiest of all come September? Tights. And the more I have to choose from � be it colour, texture or both � the better. Grey is my tight colour du jour, mainly because it was the first pair I could find before rushing off to work, but also because it makes for a surprisingly versatile basic... Move over boring black hosiery; there's a new tight in town.

Outfit details: dress- Loft 82; denim shirt- Topshop; leather jacket- Zara; booties- Michael Kors; necklace- Forever 21; bracelet- the Bay; ring- vintage; watch- Michael Kors

Labels: , , , , , , , , , , , , , , , , , ,

Thursday, September 27, 2012

Going Strong


These pants often look very dark in outfits, but here I used the scarf to brighten things up and bring out the purple color of the pants. Wearing this big scarf shawl-style works well with this top, because it has a collar that sticks out and makes it tough to put lighter weight garments over it. In fact, I discussed this issue waaaay back in 2008, where I declared that wearing the top over a lightweight jacket makes me look like a hunchback.

There are several interesting things about that old post: (1) I'm wearing one of those colorful, wide belts which used to be a regular feature in my outfits but which I no longer ever wear, (2) I talk about having a date, which means that both the post and the top predate my husband, and (3) I forgot just how dark indigo those Joe's Jeans (which I'm actually wearing right now) used to be. It was also photographed in my old apartment, and my hairstyle is  quite different. The times have certainly changed, and the old jeans may be faded, but this little top is still going strong.

Scarf: Asos
Top: H&M
Pants: Rag & Bone
Boots: Ecco
Bag: Boktier

I used my fleur-de-lis scarf ring to secure the ends of the scarf. 

Labels: , ,

{Life} Year End Goals...

Photobucket

A few weeks ago I read this post on A Beautiful Mess about devising four simple goals for yourself before the end of the year. Now all you ABM readers will know that if there's one thing Elsie and Emma are really good at, it's following through on goals... I mean come on, they wanted to open a vintage shop? Check. Start their own super cute clothing line? Done. Write a book? Heck, why not make that two books?

The point I'm trying to make is these girls go after their dreams like nobody's business and big things happen, which I find particularly inspiring because, well, I let dreams die... Big time. My problem? Zero follow through, ladies and gentlemen. Since Rome wasn't built in a day (or some other cheesy cliche) I figure that if I'm going to start working towards achieving bigger goals, I should probably master the little ones first, right? That's why I couldn't resist joining this little challenge and seeing if I can � for once in my life � actually do what I say I'm going to do... Geeez.

So with that said, here are four simple goals designed to bring happiness into my life, and hopefully those around me, before 2013... Here we go!

1. Smile at a stranger each day
This one can be harder than it sounds because it's so easy to get wrapped up in your own little world and forget to acknowledge the nice lady sitting beside you on the bus or the sweet old man passing you by on the street... So from now until at least the end of the year, I'm going to be all smiles.

2. Spend at least 1 hour of quality time with my gent each night
The importance of this one goes without saying, especially when you're a workaholic, social butterfly such as myself... 'Nuff said.

3. Bake holiday treats and make my own decorations
I buy a copy of Martha Stewart's Halloween mag every year, pin crafts like a crazy person and buy more stationary than I know what to do with, yet every single year I fall short on holiday-themed goodness. So this year I'm going to make the most of the Halloween/Thanksgiving/Christmas triple whammy and get domestic!

4. Finish reading 3 books
My nightstand is pretty much where books go to die, so for what's left of this year I endeavour to finish reading at least 3 books... It's happening, people!

Aaaand that's it! Hopefully I can actually follow through on these easy goals, and maybe you'll be inspired to make four of your own... Happy Thursday, lovelies! xx

Wednesday, September 26, 2012

{Style} City Slicker...

Photobucket Photobucket Photobucket

It feels like an eternity since I was in New York, so when my good buddy Jenna sent me these pics from our trip, I just couldn't resist posting them. I mean seriously, how dreamy is the backdrop? City lights, serene waters and a seriously gorgeous sunset to top things off � it doesn't get better than that, my friends... Memories, memories.

Happy Wednesday, my pretties! xx

Outfit details: top- Forever 21; shorts- H&M; tights- Hue; bag- Michael Kors; flats- Forever 21

Labels: , , , , , , , , , , , , , ,

Tuesday, September 25, 2012

Minnesota Interlude

I've just returned from a brief trip to Minneapolis for work, where I managed to sneak in a few days of visiting with the one and only Sal. As you might imagine, the visiting also included plenty of shopping, so you'll be seeing the booty I brought back from our adventures in the coming weeks. In the meantime here's a shot of us (courtesy of Husband Mike) in downtown Hudson, Wisconsin, where we spent a lovely afternoon.

 I actually have fond memories of Hudson from my time living in the Twin Cities. It rescued many 
a Sunday barbeque, because I never did get used to the fact that you can't buy liquor in Minnesota 
on Sundays, and I frequently forgot to stock up ahead of time.

As you can see, two of my oft-worn items, the pants and the shoes, went with me on the trip. Much of what I brought with me was pretty casual, so I sharpened up my outfits with this cute hip-length trench. My outfit: Trench, Diesel (thrifted); Pants, Joe's Jeans; Shoes, Cole Haan. There's also a gorgeous open-weave sweater underneath which I bought on the trip and which will certainly be making an appearance before too long.

{Style} The Many Shades of Brown...

Photobucket Photobucket Photobucket Photobucket Photobucket

Sometimes a girl just wants to throw caution to the wind and drape herself in deep, delicious shades of brown... Be it a nod to a new season or a departure from more commonly worn colours, brown is super stylin', especially when channeling that mom-meets-grannie-chic vibe we all know and love. Unfortunately the only anecdotal proof I have of this comes from myself, but hey, I'm as good a source as any right? Just smile and nod my friends, smile and nod...

Oh and in other news, I just realized that maybe I shouldn't write posts when I'm completely and utterly sleep deprived... Note to self.

Happy Tuesday, lovelies! xx

Outfit details: dress- Oak and Fort; booties- Aldo (even cooler version here); bag- vintage Stuart Weitzman; necklace- Forever 21; ring- YSL; bracelet- the Bay; watch- Michael Kors

Labels: , , , , , , , , , , , , , , , , ,

Friday, September 21, 2012

{Oxblood Week} The Dress...

Photobucket Photobucket Photobucket Photobucket Photobucket

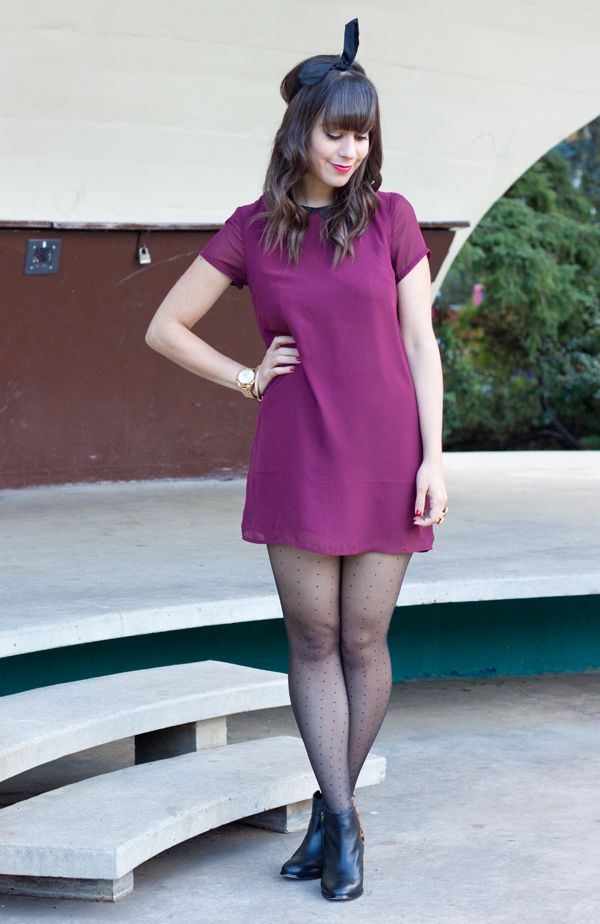
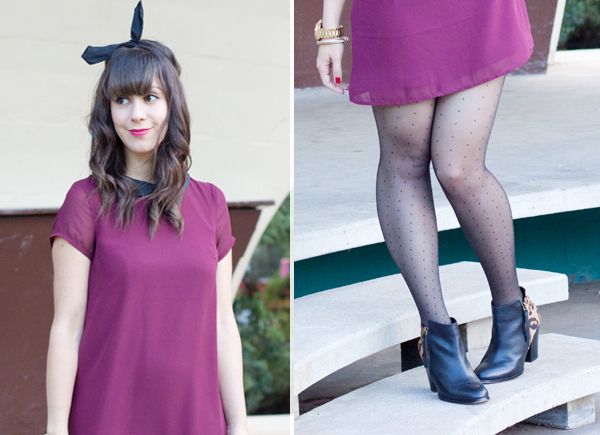
Oxblood week has come and gone, and what better way to top things off than with a pretty little dress? I bought this bad boy at H&M last week, and even though it's a tad on the short side (wind is not my friend in this dress), I totally dig it... Oh the price we pay for fashion.

And now for the million dollar question: did you guys enjoy this week's themed content? Is that something you'd like to see more of? Ask and you shall receive!

As always, thanks for reading lovebugs � Happy weekending! xx

Outfit details: dress- H&M; headband- Forever 21; tights- Hue; booties- Aldo; ring & bracelet- the Bay; watch- Michael Kors

Labels: , , , , , , , , , , , , ,

Thursday, September 20, 2012

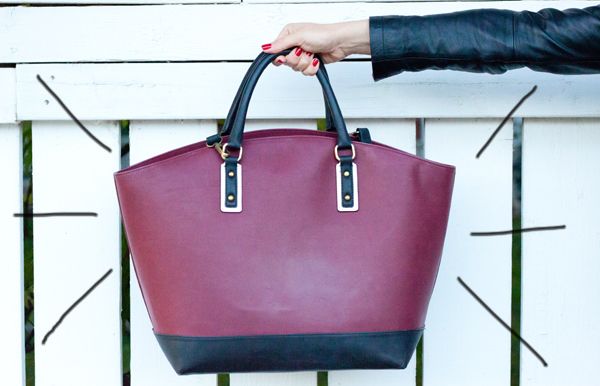
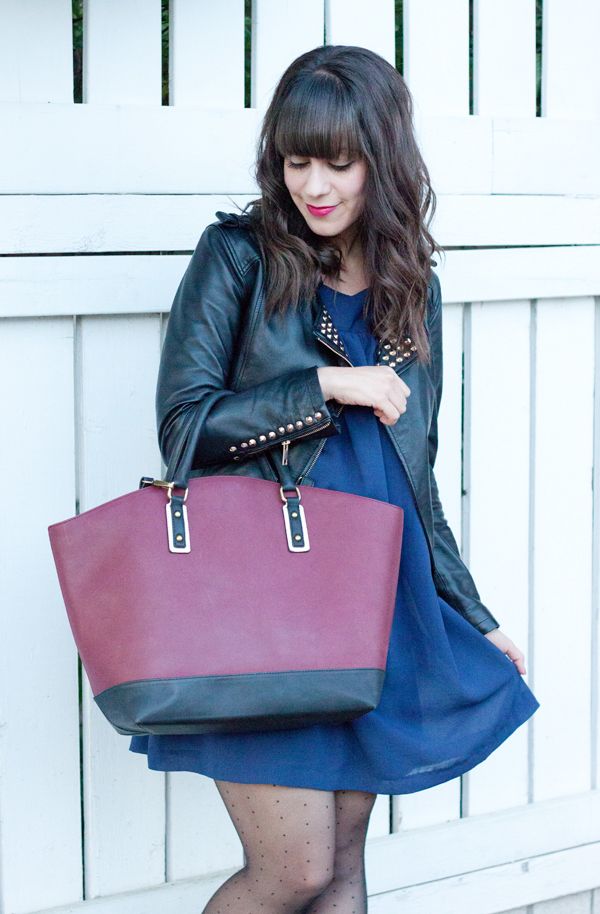
{Oxblood Week} The Bag...

Photobucket Photobucket Photobucket

Labels: , , , , , , , , , , , ,

Wednesday, September 19, 2012

{Oxblood Week} Shades of Fall...

Photobucket Photobucket Photobucket

Labels: , , , , , , , , , , , , , , ,

Tuesday, September 18, 2012

Birthday Activities


I recently celebrated my 43rd birthday by, among other things, buying myself these ankle boots. The details are a bit difficult to see in these photos; one of these days I'll take a close-up of just the boots by themselves (or you can follow the link below and see them on the Zappos site). They have a removable harness-type assembly around them that gives them a unique look, but they also have just the right amount of Chelsea-boot vibe that I was looking for. For their inaugural wearing I paired them with my mod dress, which is the very garment that got me thinking about Chelsea boots in the first place.

Other birthday activities included a nice brunch at Absinthe, a foot and back massage, and a bottle of wine. I think it's important to indulge a little on your birthday.

Dress: Promod
Cardigan: Max Studio
Boots: See by Chloe  (Incidentally, the reviewer on Zappos is correct in saying the size equivalents are off; I fortunately predicted this would be the case and ordered my correct euro size, 40, without paying attention to the fact that Zappos told me it equaled a US size 10. It doesn't; it's a standard size 9 just like every other pair of euro 40's I've ever tried on. Both Zappos and Endless seem to have issues with size equivalents.)

{Oxblood Week} The Makeup...

Photobucket

Labels: , , , , , , , , , , , , ,

Monday, September 17, 2012

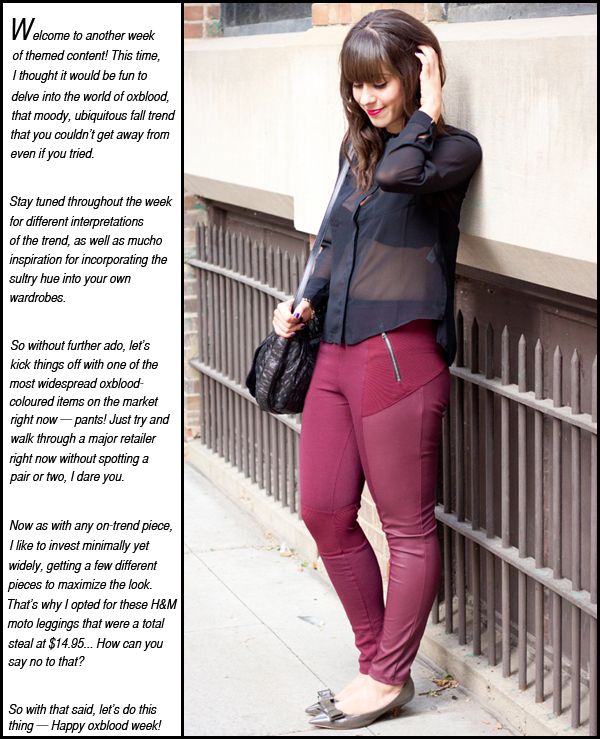
{Oxblood Week} The Pant...

Photobucket Photobucket Photobucket Photobucket

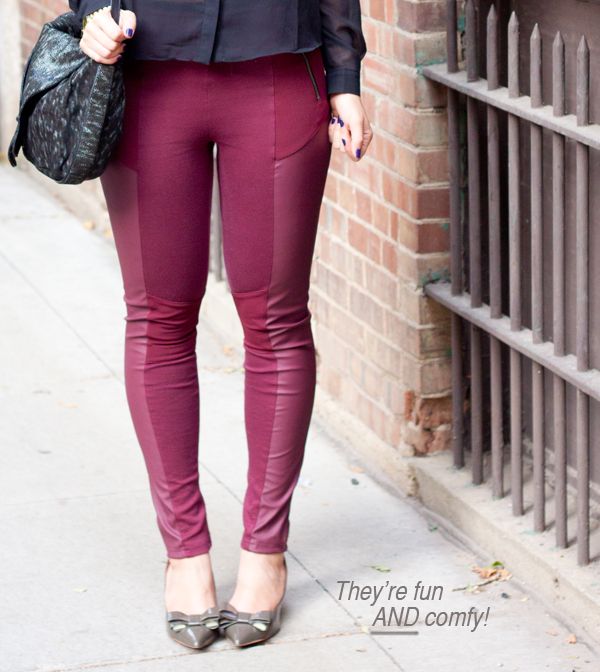
Outfit details: blouse- Topshop // leggings- H&M (great option here!) // kitten heels- Zara // bag- vintage Stuart Weitzman // watch- Michael Kors

Labels: , , , , , , , , , , , , , , ,